Friday, 20 September 2013

Project 1

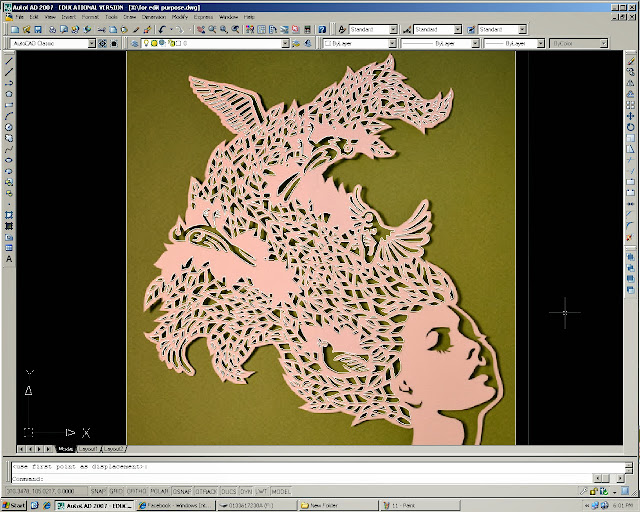
1. Downloaded a paper cutting art pattern from the Google Image, saved it in a project folder.
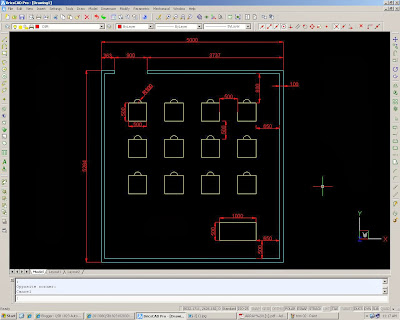
2. Downloaded and opened the 'Project 1 Template drawing' from TimeS.


3. To insert the image file into AutoCAD, clicked 'Insert' on the menu bar > select 'Raster Image Reference'.

4. Locate the image file and scale to fit in the space on the template drawing.


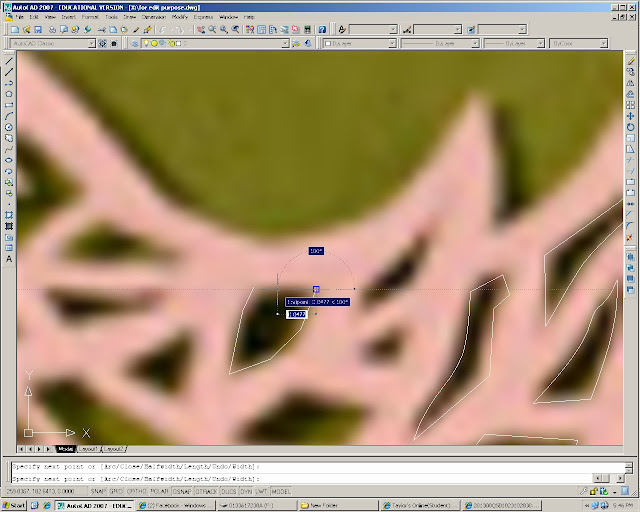
5. Use Polyline to trace on the pattern

6. To make the polylines into curves, which we should selected the polyline and type the command "PEDIT > select 'SPLINE'
7. Pressed the ENTER key till the end to complete the command.

8. Repeat the same method to trace on the pattern.


9. Move the linework to the other side of the drawing.


10. The drawing was done, used the plot fiction to print to PDF file.

11. Final outcome in PDF file


Week 4

Today i'm learning another similar software with AutoCAD which also able to sketch. I'm learned to use "tangent - tangent Radius", so that it can connect 3 circle into 1 smooth curve line after TRIM.
Secondly, I am learned how to use ARRAY function to duplicate a object to become many and with a correct offset distance. Besides that, learned how to show the dimension the objects.
Lastly, learned use polar array and to refresh use function of TRIM, DIMENSION, ARRAY, LINE, CIRCLES and etc.

Wednesday, 18 September 2013

Week 3

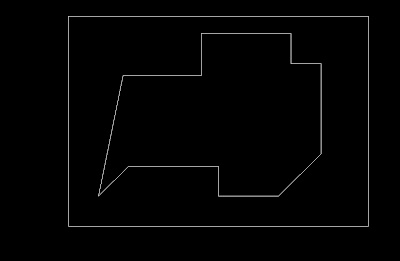
WEEK 3 1. Learn how to draw a line in the angle according the sample 2. Learn how to use Trim, Offset and Mirror functions

Tuesday, 17 September 2013

Week 1 & 2

WEEK 1 We just had a one and a half hour lecture briefing for the course outline, at the same time we got to know well for the basic functions and benefits in AutoCAD which I'll learn in this semester. The lecturer taught me how to use the software to draw to object and let us to try up, so I selected drew Minion.
WEEK 2 1. Learned how to set the (0,0) coordinate 2. How to draw the line and circle in the correct length stated 3. How to offset and setting the perpindicular line